Author Archives: dean132

Add Active Directory Domain to vRO

Before you can start creating vRO workflows to manipulate and manage Active Directory, you’re going to need to add your domain to vRO, follow the below configuration steps to get started:

Open up the vRO client, ensure you are in “Design” view, then navigate to Library à Microsoft à Active Directory à Configuration

The workflow we are interested in at the moment is the “Configure Active Directory Server” workflow. Right click the workflow and select “Run Workflow”

Fill out the details pointing AD Host to either the hostname or IP address of a Domain Controller, then click “Next”

I created a service account in AD that has domain admin rights, I’ll use this account here to run this workflow, enter your username and password and then click on “Submit”

If the workflow runs successfully you will see in the vRO client

You can also change the vRO view to “Administer” and you can now browse the domain

You can now start to work with AD workflows for your domain

Facebooktwittergoogle_pluslinkedinby feather

Deploying vCenter 6 Appliance (VCSA) from ISO

So just a quick run through on how to deploy the vCenter Virtual Appliance. You’ll need to obviously get the VCSA ISO, and then pre-create the DNS settings for the new vCenter.

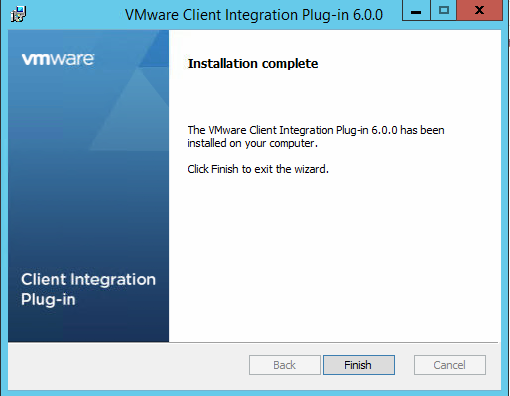
OK so now you have the ISO mount it and you will need to install the VMWare Client Integration Plugin which is included on the ISO

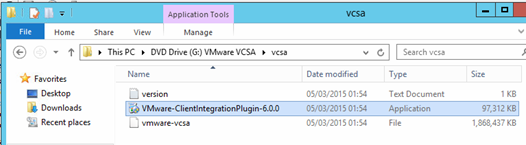
The installer is pretty much just a next, next finish! You will need to accept the EULA, and accept the installation location (or specify a new one should you desire)

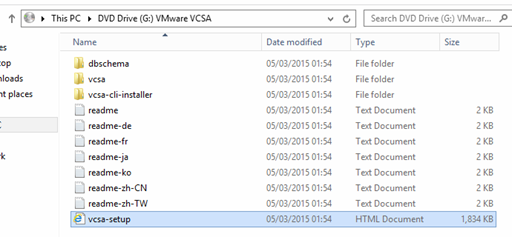
OK once the Plugin has installed we can crack on with the vCenter Installation

Browse to the root of the ISO and click on the vcas-setup.html file

You may need to allow the Integration Plugin to allow in the browser but as long as it install OK you should be greeted with the following page

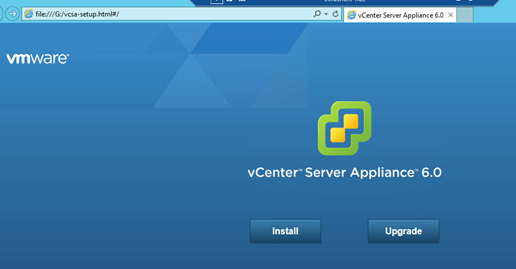
As I am performing a new installation I select “Install”
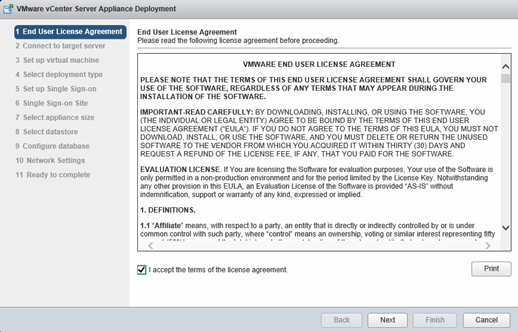
Accepts the EULA

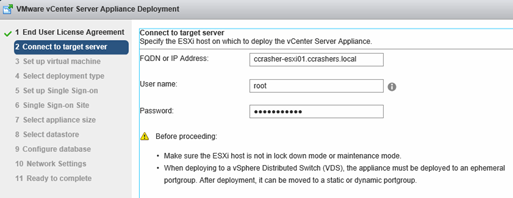
Specify the host (FQDN or IP) of where you want to deploy the vCenter Appliance

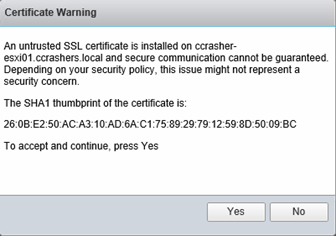
Accept the certificate

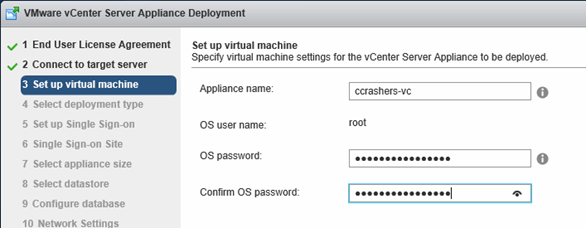
Specify the appliance name and the root password

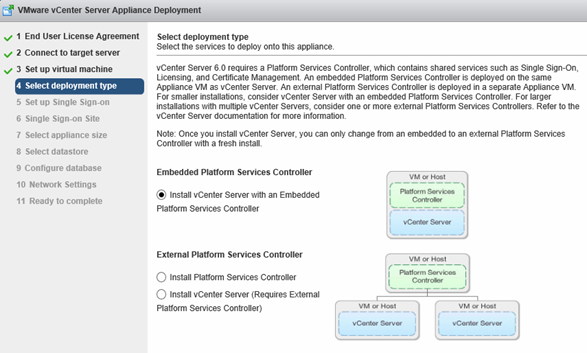
As this deployment is for my home lab I am going to deploy the vCenter Server with an Embedded Platform Services Controller

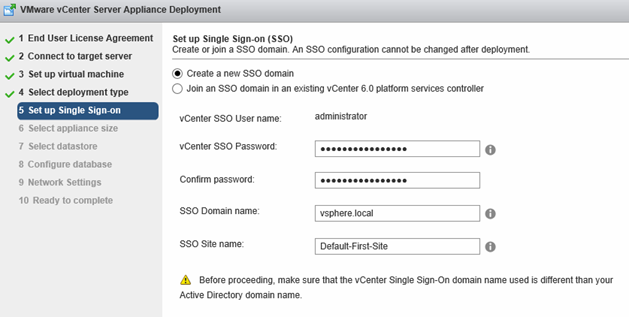
Configure you SSO Domain and Password

And then configure your appliance size, I am using “Tiny” deployment for my home lab

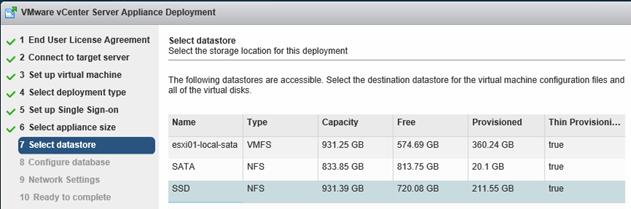
Select your data store

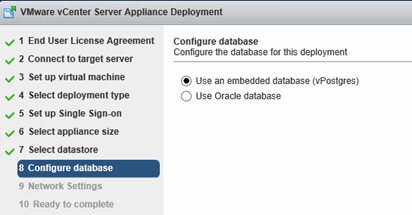
Select you database, currently the vCenter Appliance on supports Oracle as an external database, and I’ll be using the embedded database for my lab

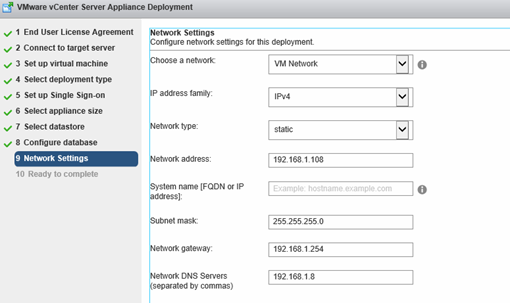
Configure your network

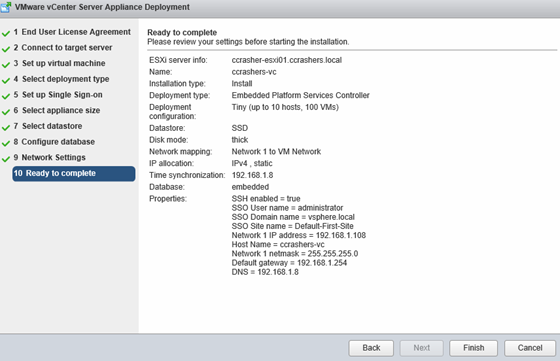
Check your summary and then click finish

Let the installer complete and voila!!! You have deployed your vCenter 6 Appliance


NOTE!!! After I had deployed my appliance I had some issues with adding the appliance to the domain the error I was getting was

Idm client exception: Error trying to join AD, error code [11], user

For a resolution to this issue, visit this fantastic blog, I ran through this and low and behold it worked a treat.

https://mattwhiteccie.wordpress.com/2015/03/31/fighting-with-windows-2012-r2-directory-services-netbios-naming-vcenter-6-0-sso-on-vcsa/comment-page-1/#comment-4


Facebooktwittergoogle_pluslinkedinby feather

A quick note about UK VMUG UserCon

So for those of you who aren’t aware of the VMUG, why aren’t you? It’s a fantastic user group for VMWare users who put on events around the world, where you can speak to people in the industry and network with people who are working on the same things you are. I recently attended my first VMUG event at the UK VMUG UserCon in Birmingham, and thought it was excellent. I was originally going to the 2014 event however I started a new contract 2 days before the event and so it never materialised, Sam McGeown of DefinIT fame had suggested the event to me and so I thought I would give it a go this year. I was able to get some valuable face to face time with key people in the industry, including a very interesting one on one chat with John Troyer from Tech Reckoning, and a break out session with VMWare on vRA in which I was able to pick the brains of one of their experts. Overall I can’t recommend getting involved enough, I’ll be back next year that’s for sure.

What has led me to writing this post was to promote the VMUG Advantage package, which I have been using since January 2015, this subscription add on is what I run my home lab on, you are able to use fully licensed versions of all the key VMWare products, this is excellent especially if like me you are a contractor and do not get the benefits of the VMWare Partner Network trial licenses. The VMUG Advantage package even include a vCloud Air trial….that’s a massive thumbs up from me!!!

For more information on the VMUG and VMUG Advantage click the links below:

https://www.vmug.com/

https://www.vmug.com/advantage

Facebooktwittergoogle_pluslinkedinby feather

Manually Force SysVol Replication to RODC

When editing the logon scripts/GPOs this should be performed on a writable DC (preferably replication partner for the RODC). I have seen issues where the Sysvol share has taken a long time to replicate the changes to the RODC delaying testing etc.

In order to manually replicate the Sysvol folder you need to run the following command:

ntfrsutl.exe forcerepl fqdn.of.RODC /r “Domain System Volume (SYSVOL share)” /p fqdn.of.writableDC

When you attempt to run this command you may receive an error like the one below:

Failure to force replication. The file replication service cannot satisfy the re

quest because the user has insufficient privileges. The event log may have more

information.

You will also see an alert in the FRS event log which luckily provides the solution:

The File Replication Service did not grant the user “sccengineer” access to the API “Force Replication”.


Permissions for “Force Replication” can be changed by running regedit.


Click on Start, Run, and type regedit.


Expand HKEY_LOCAL_MACHINE, SYSTEM, CurrentControlSet, Services, NtFrs, Parameters, Access Checks, and highlight “Force Replication”. Click on the toolbar option Security and then Permissions…


Access checks can be disabled for “Force Replication”. Double click on “Access checks are [Enabled or Disabled]” and change the string to Disabled.

If you follow the steps in the alert and restart the File Replication Service and run the above script again it should replicate the sysvol share and you will see the updated logon scripts files

Remember to put back the registry key.

Facebooktwittergoogle_pluslinkedinby feather