So just a quick run through on how to deploy the vCenter Virtual Appliance. You’ll need to obviously get the VCSA ISO, and then pre-create the DNS settings for the new vCenter.
OK so now you have the ISO mount it and you will need to install the VMWare Client Integration Plugin which is included on the ISO

The installer is pretty much just a next, next finish! You will need to accept the EULA, and accept the installation location (or specify a new one should you desire)
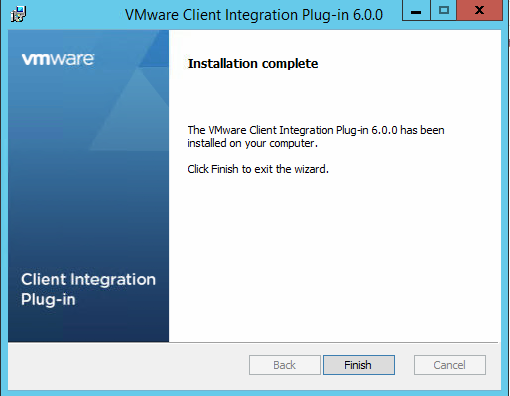
OK once the Plugin has installed we can crack on with the vCenter Installation
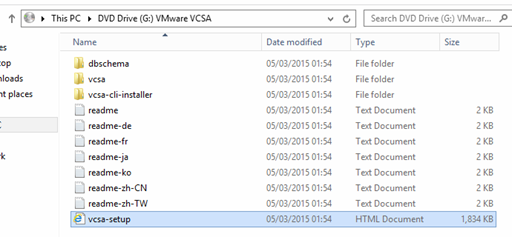
Browse to the root of the ISO and click on the vcas-setup.html file
You may need to allow the Integration Plugin to allow in the browser but as long as it install OK you should be greeted with the following page
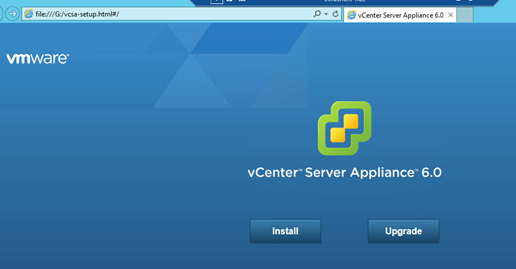
As I am performing a new installation I select “Install”
Accepts the EULA
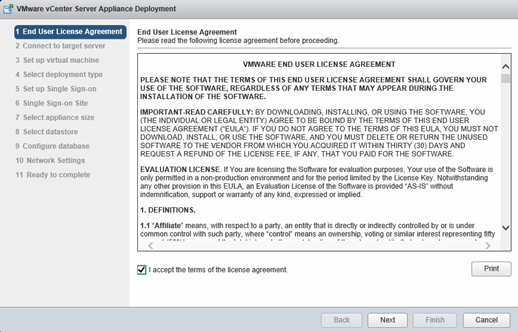
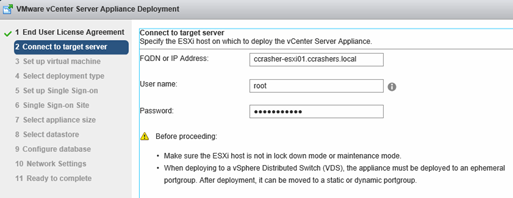
Specify the host (FQDN or IP) of where you want to deploy the vCenter Appliance
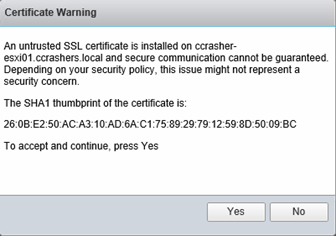
Accept the certificate
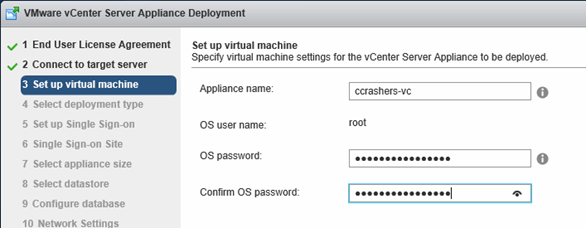
Specify the appliance name and the root password
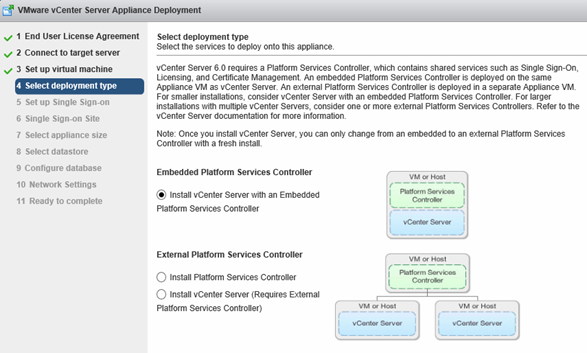
As this deployment is for my home lab I am going to deploy the vCenter Server with an Embedded Platform Services Controller
Configure you SSO Domain and Password
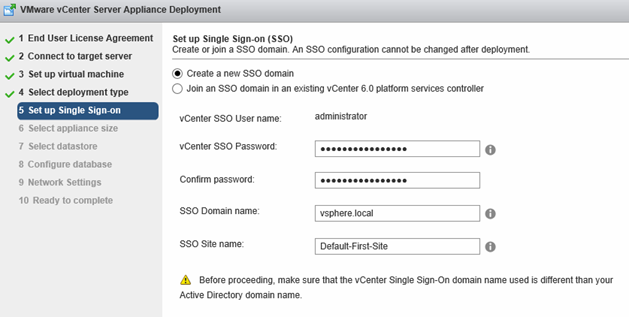
And then configure your appliance size, I am using “Tiny” deployment for my home lab

Select your data store

Select you database, currently the vCenter Appliance on supports Oracle as an external database, and I’ll be using the embedded database for my lab
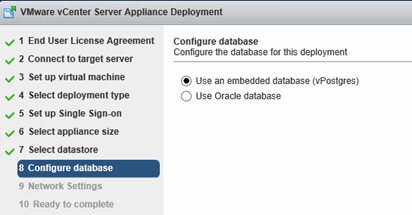
Configure your network
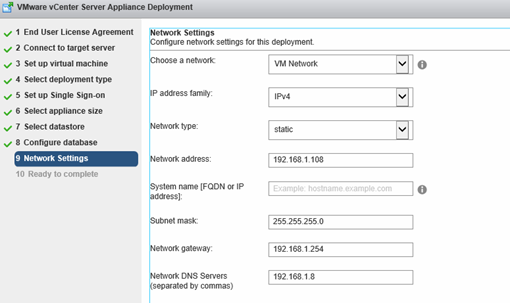
Check your summary and then click finish
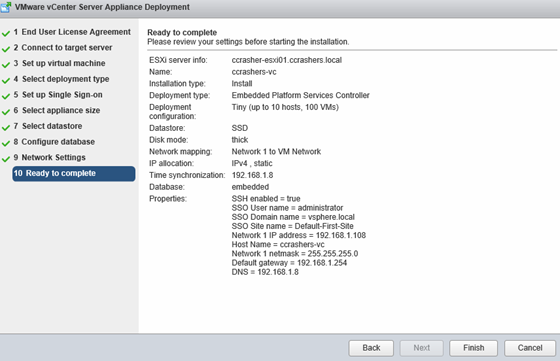
Let the installer complete and voila!!! You have deployed your vCenter 6 Appliance
NOTE!!! After I had deployed my appliance I had some issues with adding the appliance to the domain the error I was getting was
Idm client exception: Error trying to join AD, error code [11], user
For a resolution to this issue, visit this fantastic blog, I ran through this and low and behold it worked a treat.