Author Archives: dean132

PowerCLI Get Free Disk Space info from VMs

This script exports all information regarding free disk space on all VMs on your vCenter. This will only work on Powered on VM’s with VMTools installed and running.

 
Add-PSSnapin VMware.VimAutomation.Core

Connect-VIServer -Server vCenterServer

$MyCollection = @() 

$AllVMs = Get-View -ViewType VirtualMachine | Where {-not $_.Config.Template} 

$SortedVMs = $AllVMs | Select *, @{N="NumDisks";E={@($_.Guest.Disk.Length)}} | Sort-Object -Descending NumDisks

ForEach

 ($VM in $SortedVMs){ 

$Details = New-object PSObject

$Details | Add-Member -Name Name -Value $VM.name -Membertype NoteProperty

$DiskNum = 0

Foreach ($disk in $VM.Guest.Disk){ 

$Details | Add-Member -Name "Disk$($DiskNum)path" -MemberType NoteProperty -Value $Disk.DiskPath 

$Details | Add-Member -Name "Disk$($DiskNum)Capacity(MB)" -MemberType NoteProperty -Value ([math]::Round($disk.Capacity / 1MB)) 

$Details | Add-Member -Name "Disk$($DiskNum)FreeSpace(MB)" -MemberType NoteProperty -Value ([math]::Round($disk.FreeSpace / 1MB)) 

$Details | Add-Member -Name "Disk$($DiskNum)Free%" -MemberType NoteProperty -Value ("{0:p2}" -f ($disk.FreeSpace / $disk.Capacity)) 

$DiskNum++

 } $MyCollection += $Details

}

$MyCollection | Export-Csv -NoTypeInformation "C:\FreeDiskSpaceInfo.csv" 


Facebooktwittergoogle_pluslinkedinby feather

EMC Isilon Shares Intermittently Appear Offline – Network Gateway Priority

I have seen an issue a couple of times now where shares on an Isilon intermittently appear offline, or if you have a share that is accessed constantly by an application, it can look as though they intermittently drop out. It can be tough to diagnose as browsing the share will show it is up and available, and when you call your network team to ask for help, you will be told there were no issues.

In each case I have seen the problem has been due to incorrectly configured Gateway Priority settings where the Isilon has multiple External Network Subnets.

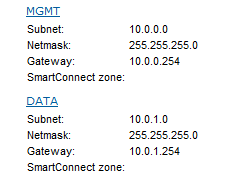
As you can see below we have 2 subnets configure (I create these for the sake of this post so ignore IP settings etc)

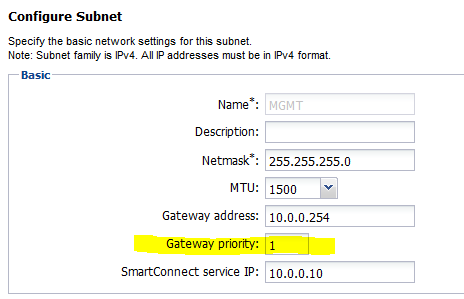
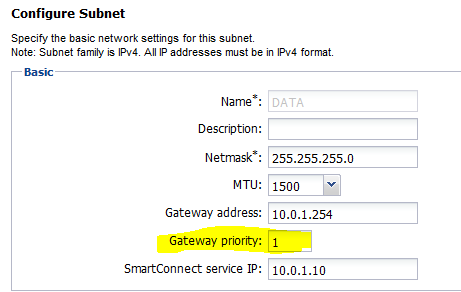
When a subnet is created, by default the Gateway priority is configured to be 1.


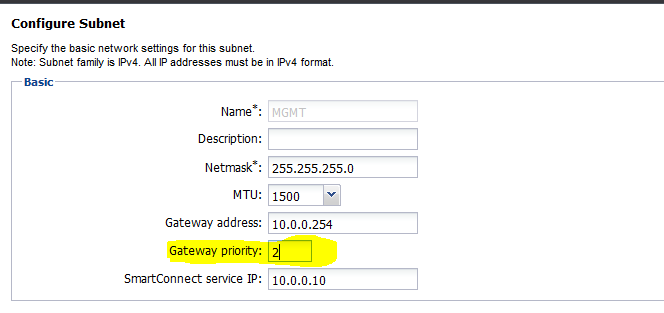
What I usually do is set the subnet used for the management subnet to a lower priority

Hopefully this should resolve your intermittent drop out issues.


Facebooktwittergoogle_pluslinkedinby feather

Welcome

shutterstock_185352599   Hi All, Welcome to my blog. I’m not sure anyone will find anything of use here, but as I am getting older and I have been making use of other people blogs for some time, I thought there might be a slim chance someone finds something useful here. I will try and keep my posts varied and frequent, I mainly work with the VMWare suite of products, but I still use “old faithful” Microsoft products where needed.

You may find some pieces of work here that you think you could improve on, and I welcome any feedback you have to give. Likewise if you are struggling with something, please drop me a line and I will be happy to help. Learning is part of the business, in fact for me its the best part, so feel free to get involved. You can email me on dean@computercrashers.co.uk or get me on twitter @CompCrashers Hope to hear from you soon Dean

Facebooktwittergoogle_pluslinkedinby feather

Creating New Provisioned vCAC VMs in a specific OU with vCO

OK here is one I had some major issues with. I have to very kindly thank Gary over at http://extendingclouds.com for the help he gave me via a webex after dropping him a line on his blog (that was above and beyond). I also have to tip my hat to Sam at http://www.definit.co.uk/ who was a massive help when working with me, and pointed me in the direction I needed to go…because to be honest I didn’t have a clue!!!

This guide assumes you have already ran the “Configure an Active Directory Server” in vCO and that you are able to browse your domain when you go to the Administer view, and select Active Directory.

So firstly you are going to want to create a Workflow Template, use this step by step here from Gary http://extendingclouds.com/2014/03/08/utilizing-the-vcac-workflow-template/

You can test the Workflow Template is working by assigning the ID of the workflow to a Blueprint in Properties à Custom Properties

This workflow is going to run when we build a machine so this is why we add the workflow to ExternalWFStubs.BuildingMachine
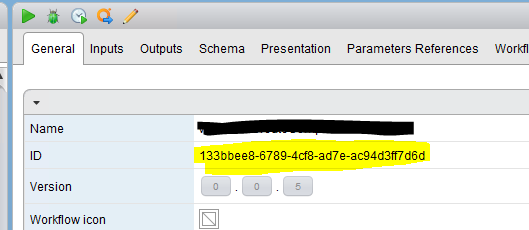
When you provision a machine now from this blueprint if you go into vCO you should see that the workflow has run:

If you then check the logs of the successfully ran workflow, you can see all of the properties that vCO has listed for the VM:
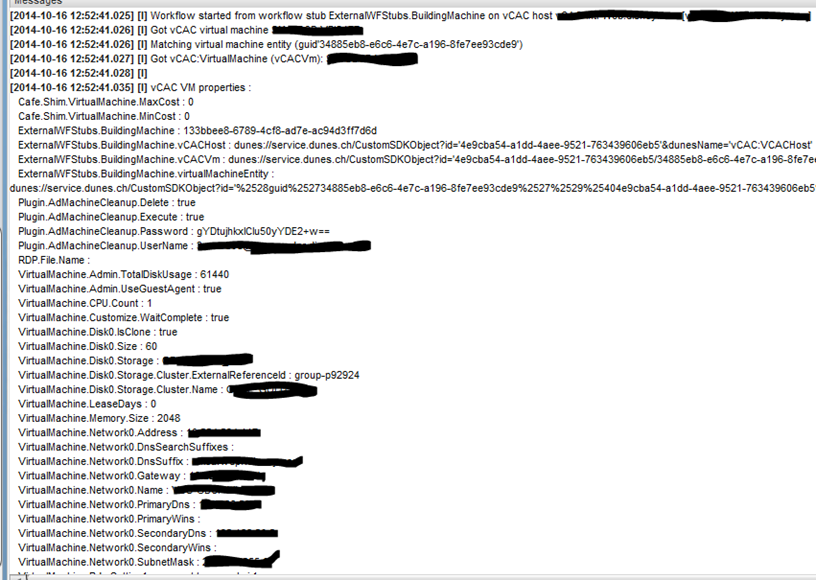
OK so that proves the Workflow Template is running and that you can pull out information required.

What I then did was Duplicate that workflow, and start to edit it so that I could pre-stage the VM to be a member of a specific OU:

Please note there may well be a much more efficient way to achieve this and I would be very happy to hear from someone with an idea, however my coding skills are pretty much non-existent, so this is how I go it to work.

On the newly create (duplicated) workflow click edit:

Give it a name. Then add 3 attributes:

Name            Type                    Value
customOU         AD:OrganisationalUnit            Browse to the OU where you want the VM (please note this is why you must have previously added an AD Server)
machineName        string
domainName        string                    DC=ccrashers,DC=local

Then go to Schema and create a new Scriptable Task:

Assign Local Parameters
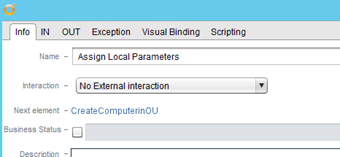
IN

Local Paramter: vCACVm
Source Parameter: vCACVm [in-parameter]
Type: vCAC:VirtualMachine
Description: vCAC Virtual Machine

OUT

Local Paramter: machineName
Source Parameter: machineName [attribute]
Type: string

Visual Binding

In Parameters                In        Out            Out Attribute
vCACVm vCAC:VirtualMachine    vCACVm    machineName        machineName

Scripting

machineName = vCACVm.virtualMachineName;


Now the scriptable task is complete I then call the built in workflow under all workflow:
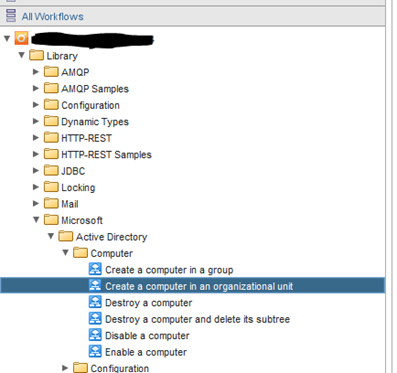
IN

Local Parameter            Source Parameter            Type
ou                customOU [attribute]            AD:OrganizationalUnit
computerName        machineName [attribute]        string
domainName            domainName [attribute]        string

OUT

Local Parameter            Source Parameter                    Type
newCOmputer                newComputer.newComputer[out-parameter]        AD:ComputerAD

Visual Binding

In Attributes                    In            Out                    Out Parameters
customOU    AD:OrganizationalUnit        ou            newCOmputer AD:ComputerAD    newComputer.newComputer
machineName    string                computerName
domainName    string                domainName

Now when I assign this workflow to a blueprint, the new VM is provisioning and a computer account is create in an OU call vCAC Servers on my domain.

Please if anyone knows a better way to do this or has any questions drop me a line, I got through this with lots of help from others so if I can help someone else then all the better.

Good bye for now.

Dean

Facebooktwittergoogle_pluslinkedinby feather

Prepare vCO and vCAC 6.1 for Workflow creation

OK so now you have deployed your vCAC 6.1 Architecture including vCAC 6.1 Appliances, Identity Appliance, IaaS Servers, vCO configuration, Tenant Configuration, you’re going to want to start running and creating some workflows.

There are some task that need to be completed before we can get started.

  • Create a vCO Endpoint in vCAC 6.1
  • Add an Iaas Host
  • Install vCO Customization

So lets get started:

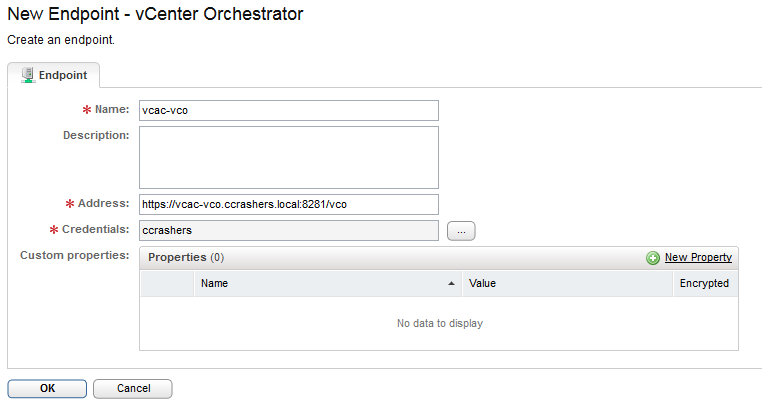
Create a vCO Endpoint in vCAC 6.1

Infrastructure Tab à Endpoints à New Endpoint à Orchestration à vCenter Orchestrator

Give the Endpoint a Name, Description, and set Credentials.

The address need to be in this format: https://vcoservername.domain.local:8281/vco if you have created a load balanced vCO deployment enter the Load Balanced FQDN.

And that should be that.

Add an IaaS Host

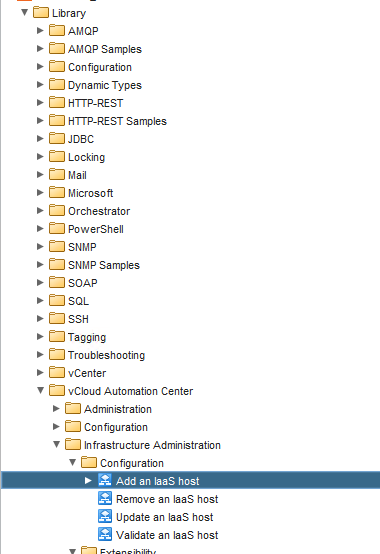
Go to your vCO Client
Library à vCloud Automation Center à Infrastructure Administration à Configuration à Add an Iaas host

Run the workflow

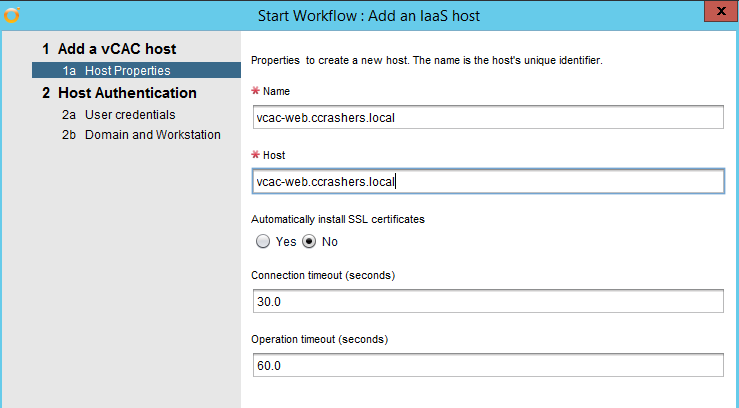
Enter the name of your IaaS host and the fqdn of the host remember if you are using a distributed IaaS config enter the Load Balanced name.

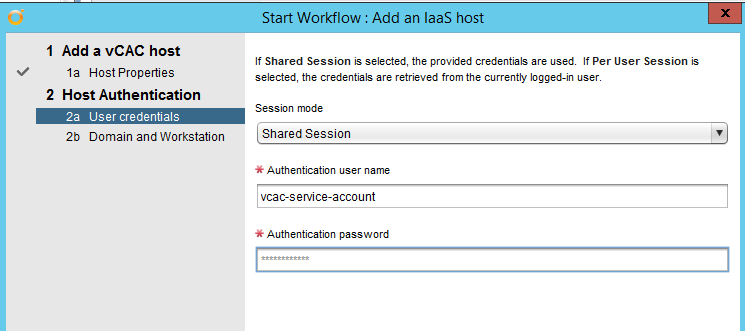
Enter credentials do not prefix with a domain name.

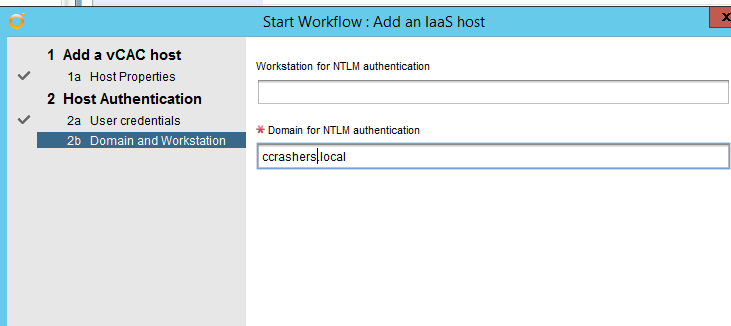
Now enter the AD domain

Then hit Submit and a lovely Green tick should appear once it has run successfully:


Install vCO Customization

Whilst still in the vCO client
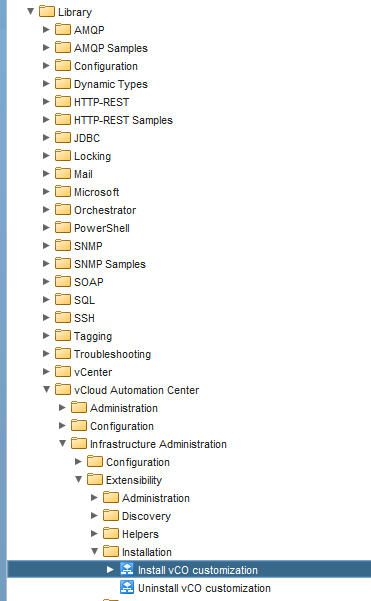
Library à vCloud Automation Center à Infrastructure Administration à Extensibility àInstallation

Run the workflow à Click on the Not Set field:

Select you IaaS host from the dropdown:

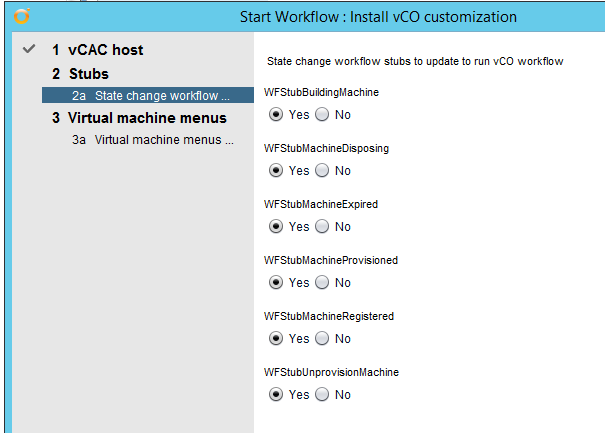
Click next and select all options:

Click next and then Submit:


You are now ready to create workflows for vCO workflows for vCAC 6.1

Facebooktwittergoogle_pluslinkedinby feather