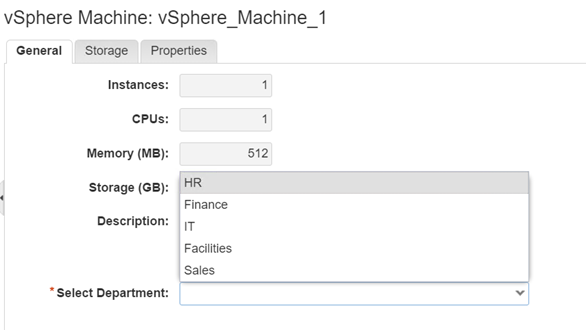
In a previous post I explained how to create a dynamic menu using a vRO action. That works great, if the values are going to be static, however you don’t really want to be editing a vRO action every time someone makes a change to the available options.
In this post I will show how to use a vRO action that returns the values (in this case “Department”) that are stored in an SQL Database. We’ll first create a vRO workflow to test we are getting the results we require, and then we’ll create the Action using the workflow code. Finally we’ll create a vRA 7 custom property and apply it to a blueprint so it can be selected at request time.
Pre-Requisites:
A deployed vRA 7 platform
An Instance of vRO that has been configured to orchestrate your vRA 7 platform (endpoint / server configuration / vRA Plugin)
An SQL Database – That has been added to vRO – See this post for instructions on how to add an SQL DB to vRO
The Database
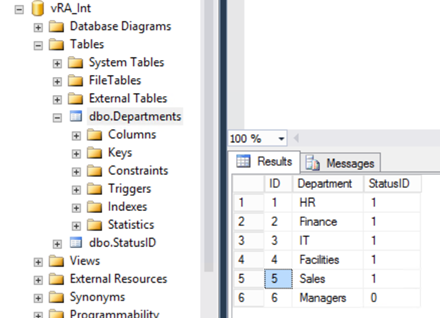
In my example, I have a SQL Database called vRA_Int, in that database I have a table called Departments with some values added:
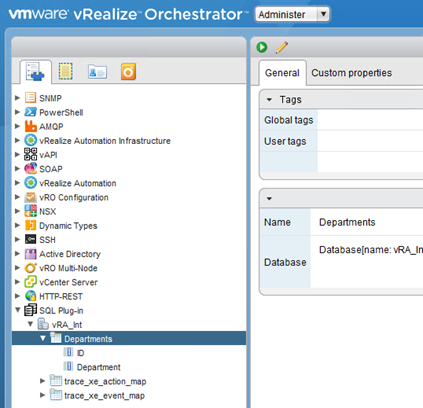
You can check you can explore the SQL Database from vRO by going to the Administer view in the vRO client, and expanding the SQL Plugin option:
The vRO Workflow
So its time for the dreaded javascript piece, I’ll be honest, I am not a fan but I am learning and becoming much more comfortable with it now.
You’ll note from the workflow there are no Inputs or Outputs defined, I am just going to have the scriptable task define all of these:

Find the SQL Database
Next we need to define the SQL Database, you can use the vRO API Explorer to get the correct code required, it’s a bit clunky but once you get used to reading it things start becoming a little clearer:
var arrSQLDatabase = SQLDatabaseManager.getDatabases();

var objSQLDatabase = null;

for each (objSQLDatabase in arrSQLDatabase)

{

if (objSQLDatabase.name == "vRA_Int")

{

break;

}

}
Find the Required Table
We now need to define the table within the SQL Database:
var arrSQLTable = objSQLDatabase.getTables();

var objSQLTable = null;

for each (objSQLTable in arrSQLTable)

{

if (objSQLTable.name == "Departments")

{

break;

}

}
Define the SQL Query and return the results
Here we define the query, and we loop through the table to return all of the results that match our query. We then return the results to the system log:
var strQuery = "SELECT Department FROM Departments WHERE StatusID > 0";

var results = objSQLDatabase.readCustomQuery(strQuery);

var arrDepartments = new Array();


for (var i = 0; i < results.length; i++ ) {

var d = results[i];

arrDepartments.push(d.Department);

}

System.log (arrDepartments)
Save and Run the Workflow
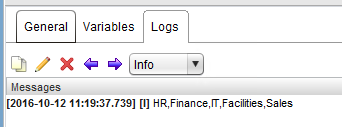
You should now be able to run the workflow successfully, checking the Logs tab on the workflow history you should see the correct results returned:
The vRO Action
Once you are happy that your workflow is working correctly and returning the expected results, you’ll need to create an Action for vRA to be able to return the values from a Request Form.
Create the Action
Create a new Action in vRO, and then copy and paste the code from your scriptable task.
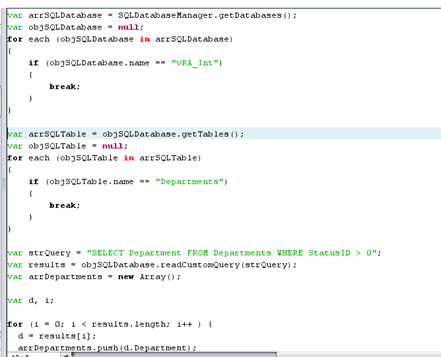
Edit the Action Script
We’ll need to make a couple of small changes for the action.
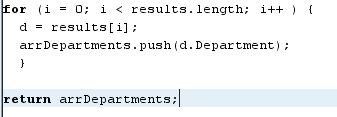
First we need to remove the System.log line and replace with return arrDepartments;
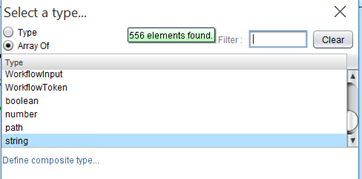
Second we need to define the Actions Return Type, this should be an Array of String:
And that should be all we need for the vRO action
The vRA Property Definition
Now we need to create the vRA property definition, which will then be applied to a blueprint:
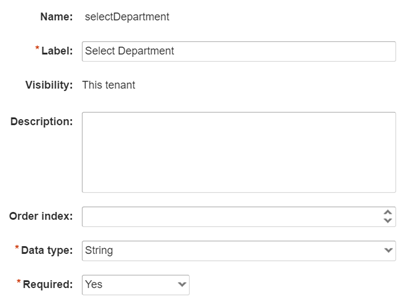
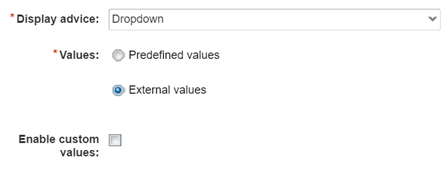
Now you need to select the action:

Once completed the Property Definition can be applied it to a Blueprint like below:

Make sure you select “Overridable” otherwise the dropdown will be blanked out
Voila….
