As a quick and easy run through I thought I would show how you can publish vRO workflows as a Catalog Item in vRA. This is a really basic workflow just to show an example of how vRA Advanced Service Designer can be used.
Couple of Pre-Reqs, make sure you are running vCloud Suite – Advanced edition as a minimum you do not get Advanced Service Designer in Standard!!!
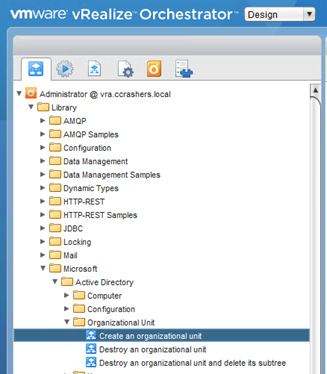
OK, to get started you are going to need a workflow in vRealize Orchestrator, I have chosen the “Create an Organisational Unit” workflow that is included in the vRO AD Plugin. It’s a simple workflow that if you run it natively it only asks for 2 parameters an OU name and a Parent OU, since I don’t want my users to have to enter a parent OU, I am going to make some changes to the workflow to set the parent OU in advance.
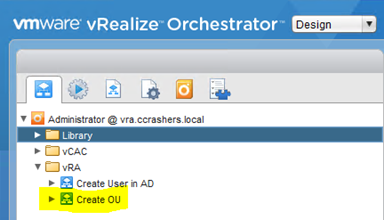
First duplicate the workflow and save it in a folder where you keep all your customised workflows
Now lets edit the workflow to set the Parent OU value so the end users does not have to.
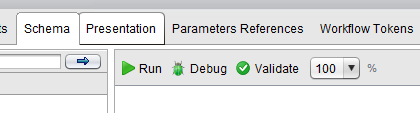
Edit the workflow and click on the Schema Tab

Select the createOrganizationalUnit element and edit it, click on the “IN” tab
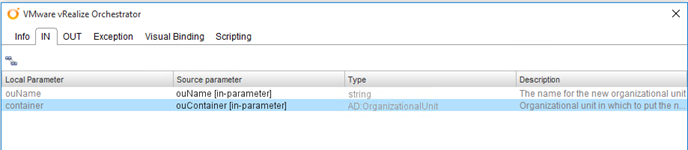
Double click on the “container parameter”

Click on the “Not Set” value highlighted in the picture above and browse the domain to the parent OU where you want to place all created OUs
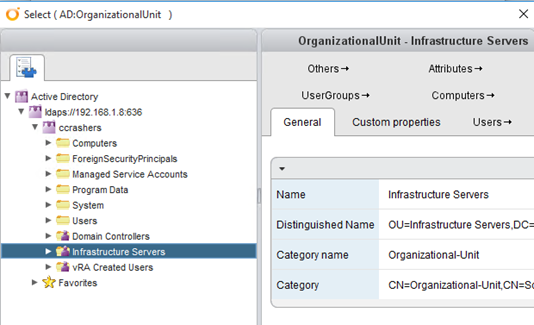
Click Select and then Click OK. If you select the “Validate” button from the Schema Tab the validation will run and should succeed (you may be prompted about an un-used parameter you are safe to remove this)

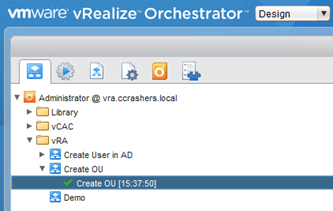
You can now run this workflow from vRO to make sure it runs successfully.
Ok so now you have your workflow, we now need to Publish this in vRA and grant permission to users so that people can see it in their Catalog, and run it.
Login to vRA and go to Advanced Service Designer à Service Blueprints à Add
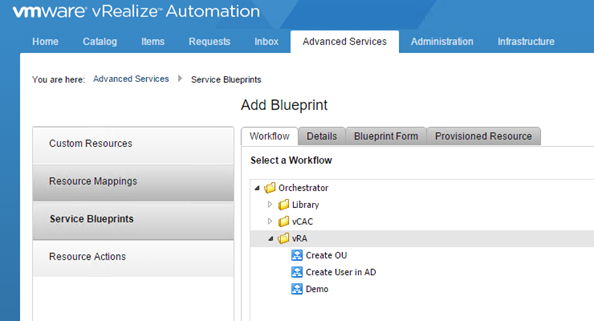
Browse to the folder on vRO where the workflow you created earlier is located, highlight it and then click “Next”
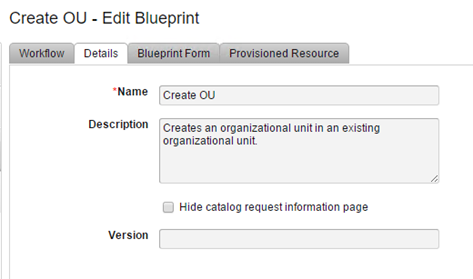
Fill in the details for your workflow and then click “Next”
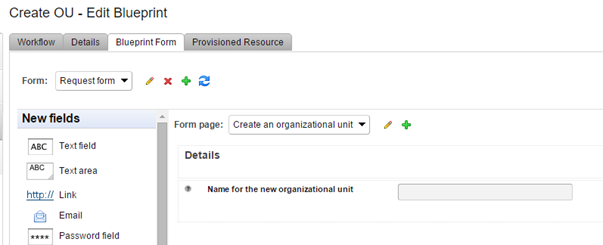
Then click “Next”
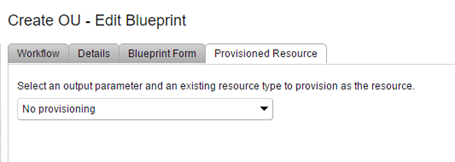
Then click “Next” again, we don’t need to make any changes
You’ll now have you Service Blueprint

Highlight the blueprint and click on “Publish”
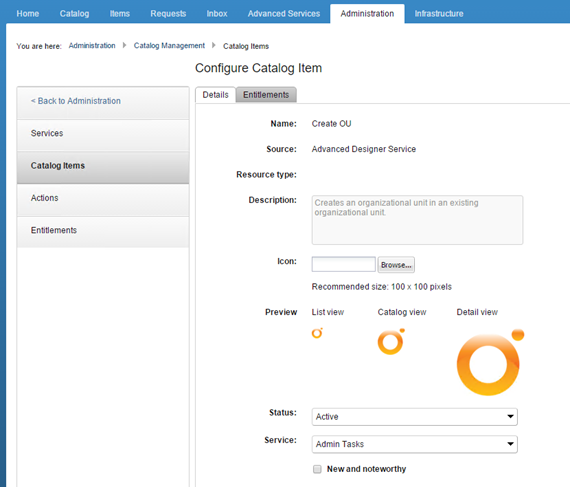
As with all VM Blueprints you will need to assign a Service and Entitlements to the blueprint
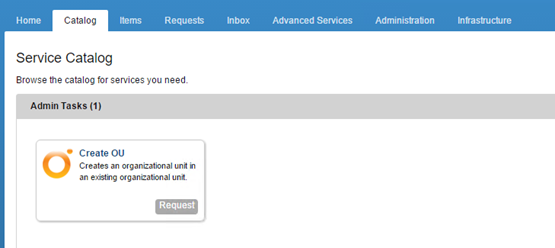
Once done you should see the Service Blueprint in your catalog
Fill out the request info
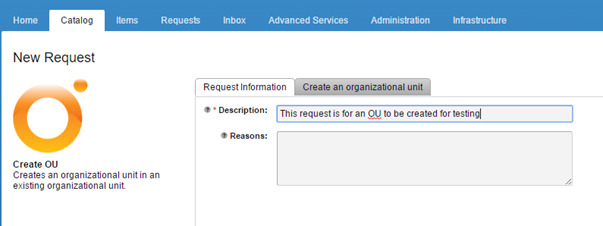
Then enter the name of the OU you want
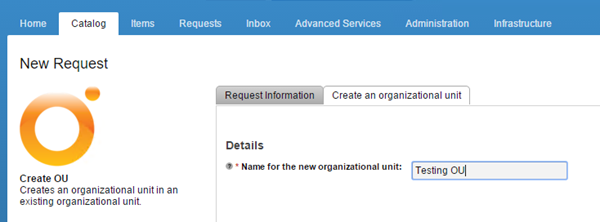
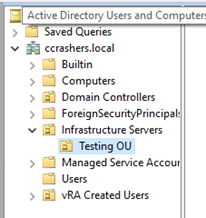
Click “Submit” and the request should process

That’s it for this demo, it’s a very simple way to show you how to get started with Advanced Services Designer, the more complex the vRO workflow the more complex it gets to publish, but I keep saying it vRA is a great product and really extensible.